How to Put Ribbon on a Gift

Wrapping a gift with a ribbon adds a beautiful and personal touch. Whether for a birthday, anniversary, or holiday, a well-tied ribbon can elevate the presentation. Here’s a step-by-step guide on how to put ribbon on a gift, ensuring it looks polished and elegant.
Choosing the Right Ribbon
Before you start, select a ribbon that complements the wrapping paper. Consider the color, texture, and width. Satin ribbons offer a classic look, while grosgrain provides a more textured appearance. Organza ribbons add a touch of elegance with their sheer quality. Ensure the ribbon is long enough to wrap around the gift and create a bow.
Preparing the Gift
Begin by wrapping the gift with wrapping paper. Ensure the paper is smooth and secured with tape, with no loose edges. A neatly wrapped gift provides a clean canvas for adding the ribbon.
Wrapping the Ribbon Around the Gift
- Measure the Ribbon: Unroll the ribbon and measure enough to wrap around the gift lengthwise, leaving extra for tying a bow. A good rule of thumb is to have at least three times the length of the gift for the bow.
- Position the Ribbon: Place the gift face down. Center the ribbon across the back, leaving equal lengths on both sides.
- Cross the Ribbon: Bring the ribbon ends to the front, crossing them in the center. If you want the bow to be off-center, adjust the crossing point accordingly.
- Wrap Again: Turn the gift over to the back. Twist the ribbon ends around each other, and pull them perpendicular to the initial direction.
- Secure the Ribbon: Bring the ribbon ends back to the front. This creates a cross pattern. Ensure the ribbon is snug but not too tight, as this could warp the paper.
Tying the Bow
- Create the Loops: Form a loop with one end of the ribbon. Hold it with your thumb and index finger.
- Wrap the Other End: Take the other end of the ribbon and wrap it around the loop you’ve made.
- Pull Through: Pass the second ribbon end through the loop you’ve created by wrapping. This forms the second loop.
- Adjust the Bow: Pull both loops to tighten the bow. Adjust the size of the loops and tails to your liking. Ensure the bow is centered and the ribbon lies flat.
- Trim the Ends: Use scissors to trim the ribbon ends at an angle for a neat finish. If you prefer a fancier look, cut the ends into a “V” shape by folding the ribbon in half lengthwise and cutting at an angle.
Adding Finishing Touches
- Secure the Bow: If needed, use a small piece of double-sided tape under the bow to secure it in place.
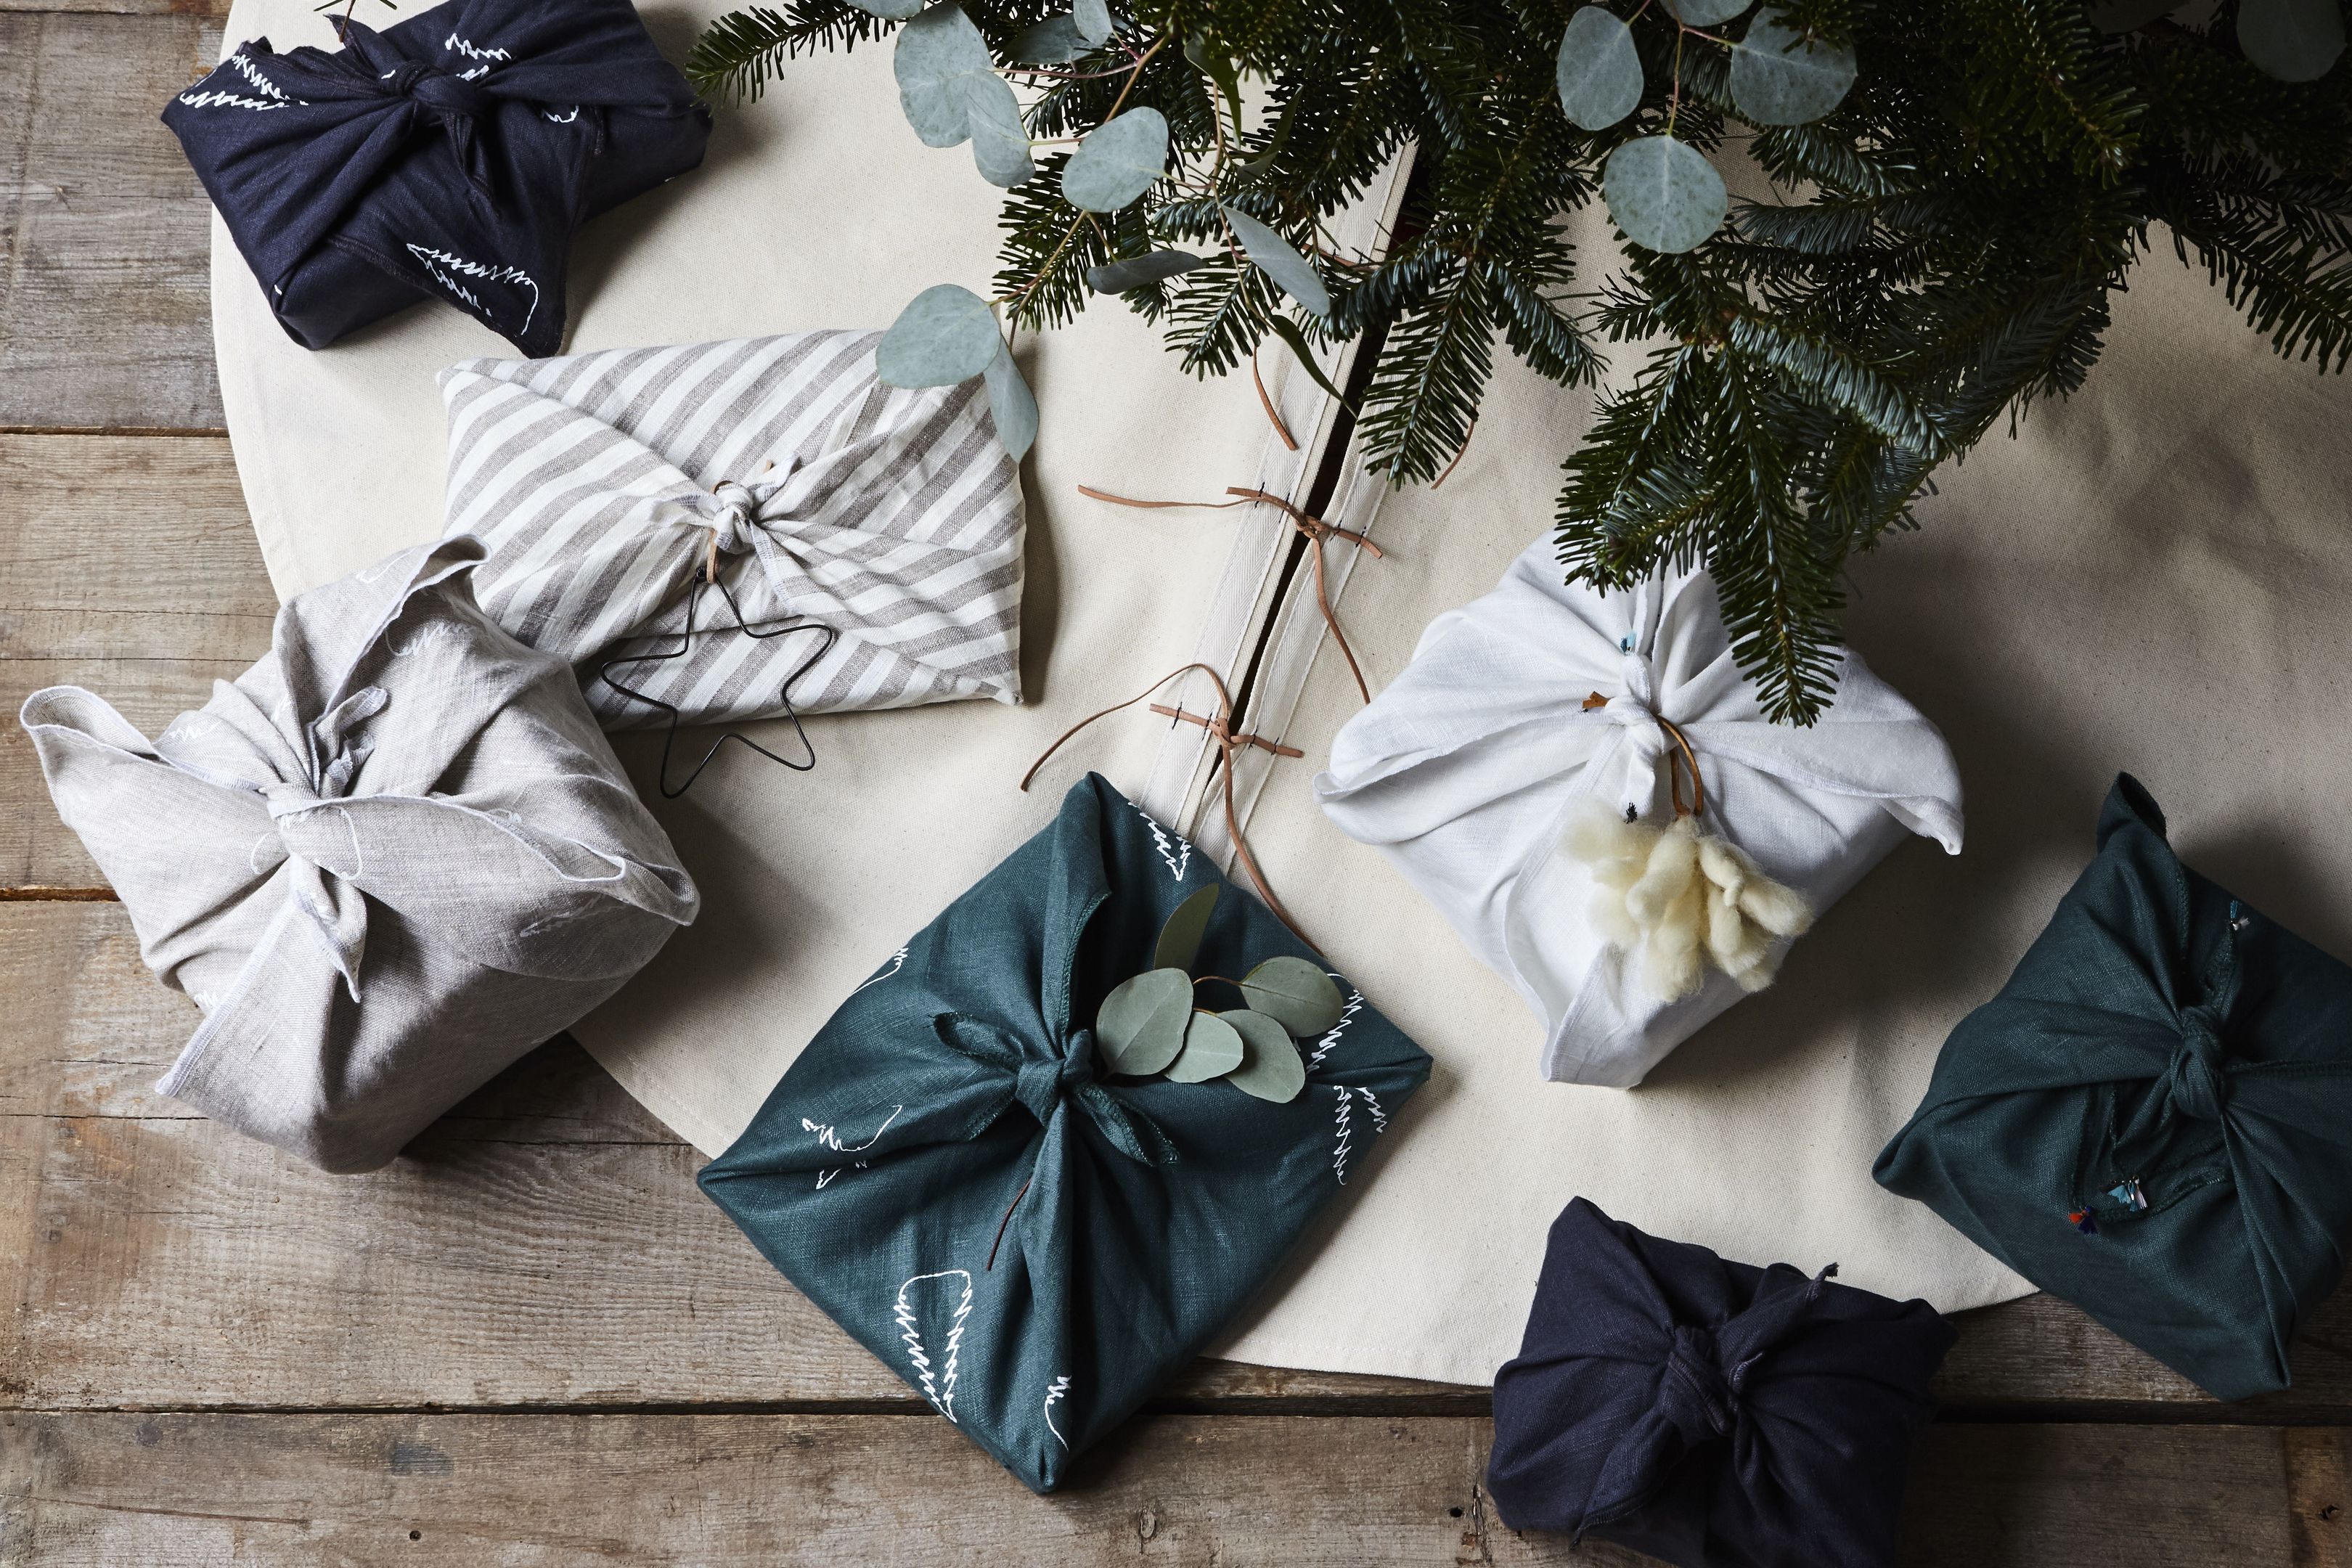
- Add Embellishments: Consider adding small decorative elements like a sprig of greenery, a small ornament, or a gift tag. Tuck them under the bow for added elegance.
- Fluff the Bow: Gently fluff the loops to ensure the bow looks full and symmetrical.
Conclusion
Putting a ribbon on a gift adds a touch of elegance and shows extra thought and care. By choosing the right ribbon and following these steps, you can create a beautifully wrapped gift that impresses the recipient. Whether for a special occasion or a simple gesture of appreciation, a well-tied ribbon makes the presentation memorable. With practice, you can master the art of gift wrapping and add your personal flair to every present.